Why Watermark Removal Looks Blurry (and What to Try Instead)
Watermark removal can look blurry for two broad reasons: some tools simply blur or smear the marked area, while reconstruction tools must infer detail from a rendered frame whose clean original pixels are no longer directly available. The risk rises with a large selection, low-quality source, fine texture, and motion. Start with the original project if you have it; otherwise test a representative segment and judge it at normal playback speed.
Published · Updated
5 reasons watermark removal looks blurry
Start with the visible symptom before assuming every soft result is an advanced reconstruction problem. Some watermark removers do not attempt to rebuild the background at all: they blur, smudge, or blend the selected area into nearby pixels. That can be acceptable when deliberately obscuring an area, but it will not recreate fine detail.
Use this quick diagnosis to decide what to change before you spend time testing a different workflow.
A blur symptom points to a different next step depending on its cause.
Likely reason
What you may see
What to try
The tool uses blur or smearing
The whole watermark area looks like frosted glass
Try a reconstruction or video-inpainting workflow on an authorized sample.
The selection is too large
Unmarked picture around the logo becomes soft
Tighten the mask to the mark and retest.
The source is already low quality
There is little detail to work with before editing
Find the highest-quality original or a clean source export.
The mark crosses complex texture
Hair, water, fine lettering, or patterned detail turns mushy
Test a representative segment and compare it in playback.
Motion is inconsistent
A still frame looks okay but the area flickers or shifts
Review the complete movement and cuts, not one frame.
Why reconstruction can still soften the picture
A watermark in a final video is normally part of the visible picture, not a switchable layer. The clean original pixels underneath the watermark are no longer directly available in the rendered frame. When it covers a hairline edge, lettering, grass, water, skin, or a product texture, a reconstruction workflow has to infer a plausible replacement from nearby and neighbouring frames.
That is why a soft patch can appear even if the surrounding video is sharp. Compression can make the boundary more obvious, and a semi-transparent mark is especially awkward: some underlying signal may still be visible, but it has been blended with the watermark and altered by the rendered video rather than preserved as clean original detail.
Movement changes the problem again. A camera pan, a moving subject, or a mark that fades in and out gives the repair less stable context. Research on video inpainting treats frame-to-frame consistency as a central challenge: a still can look acceptable while the same area flickers or seems to swim in playback.
When you need to remove watermark from video, compare Basic blur with Advanced reconstruction and review motion behind the mark before choosing a result.
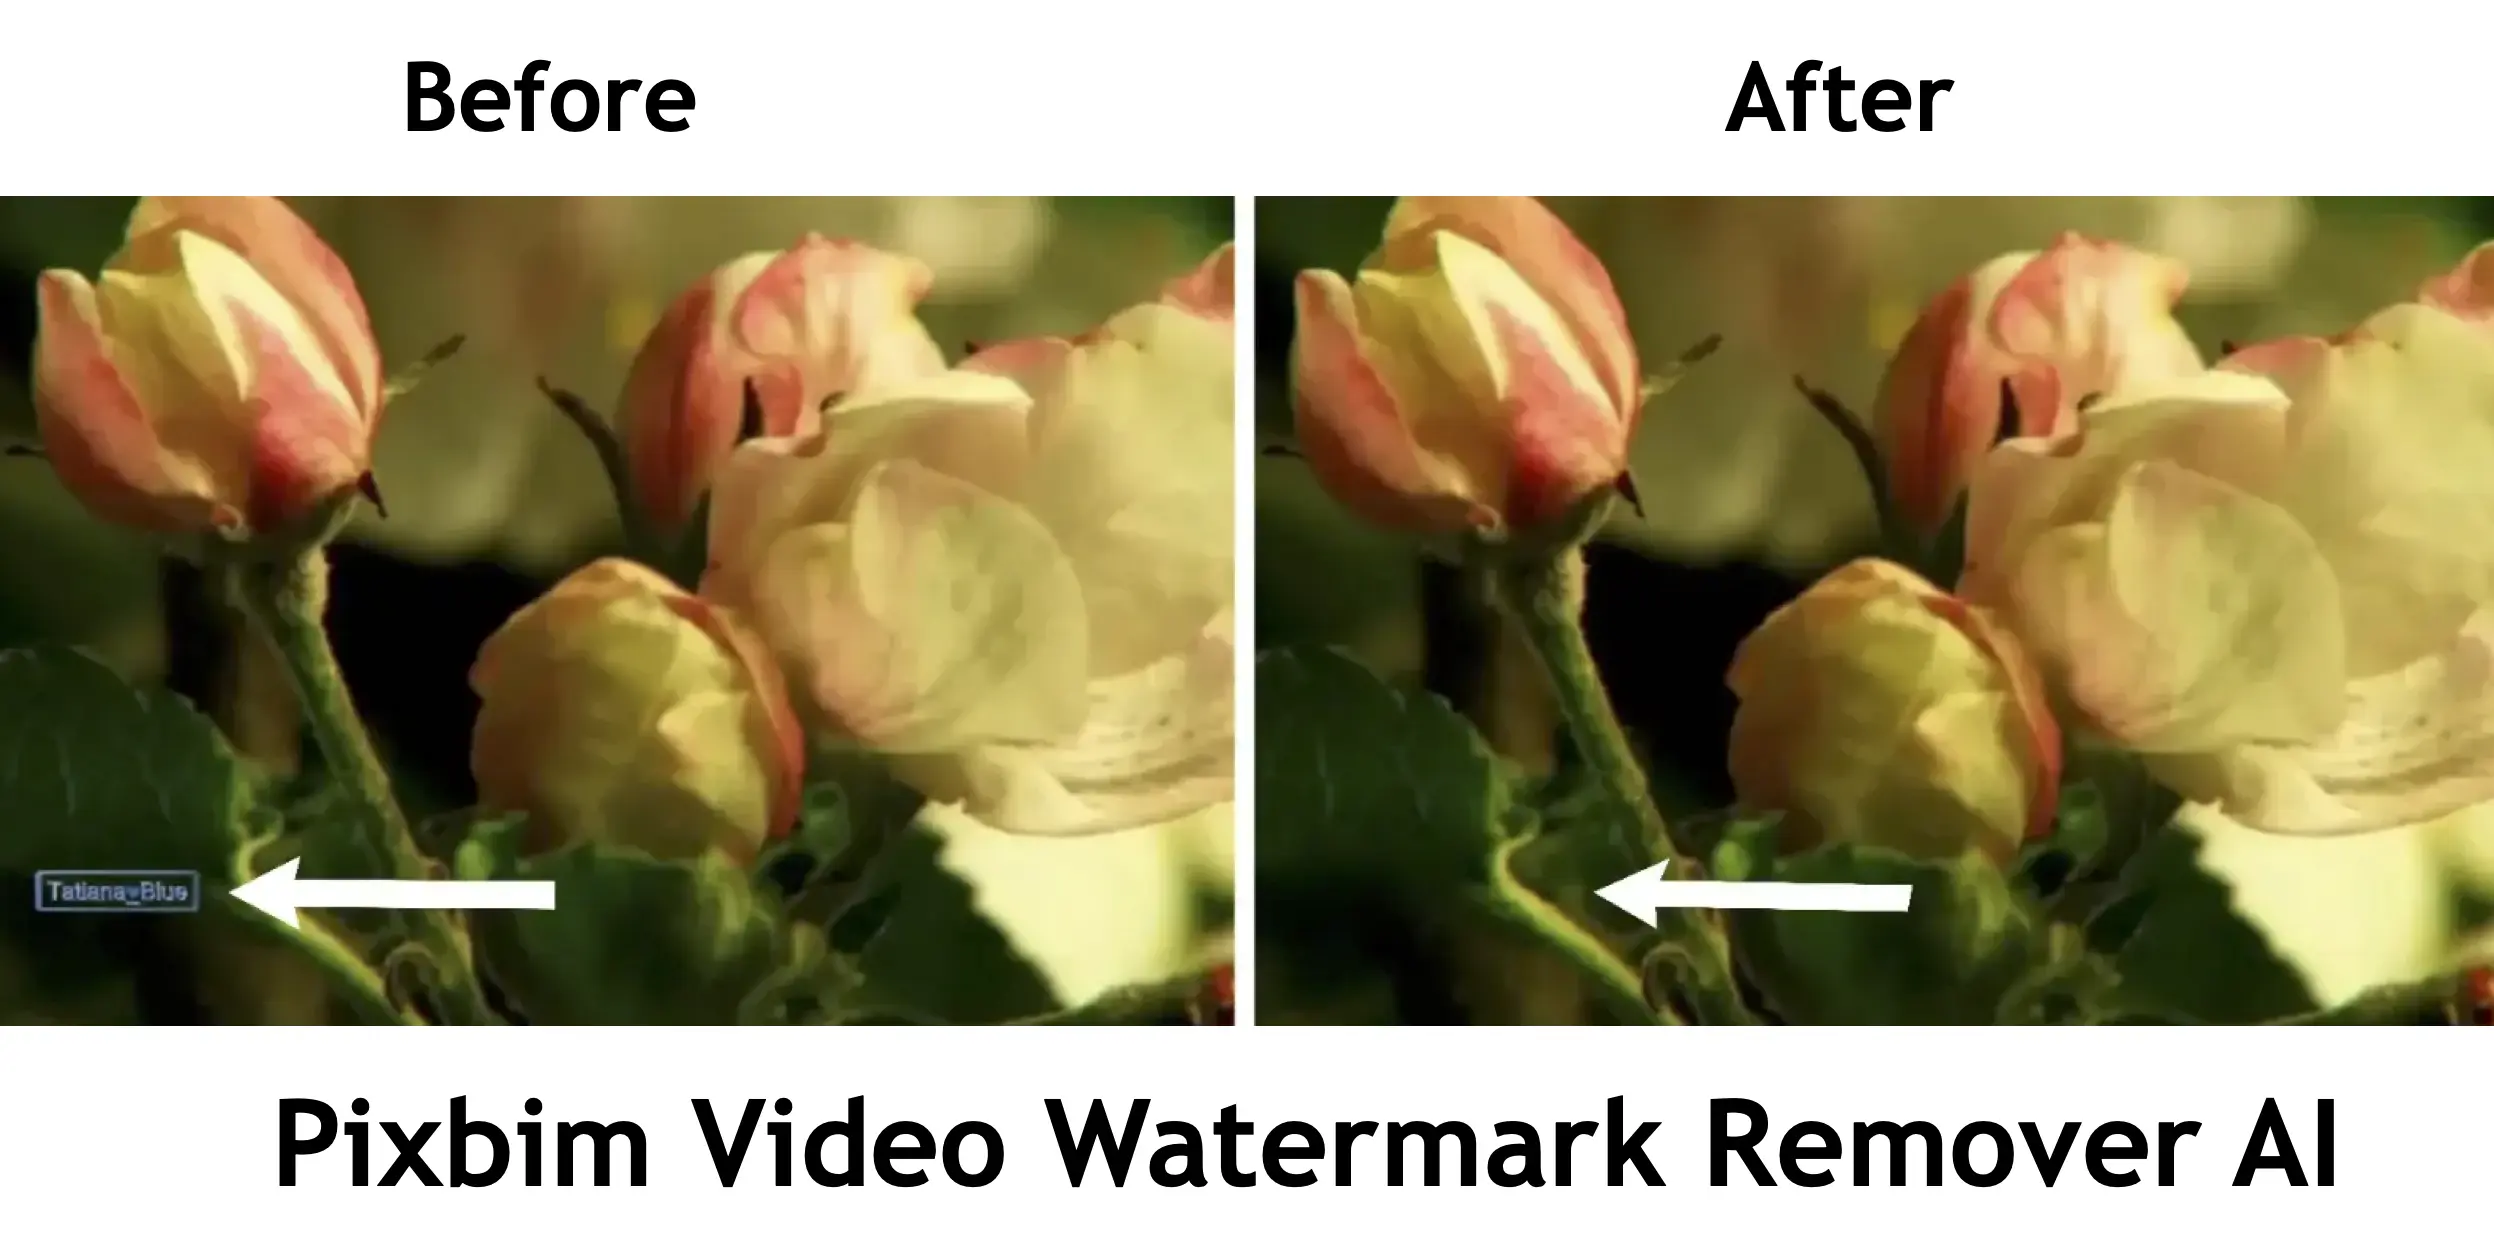
Third-party before-and-after illustration. It is not a RemoveText.video result and does not predict quality for another clip. Source: Pixbim watermark-removal sample
Choose the option that makes its trade-off visible
If you still control the source project, remove the watermark at its original layer and export again. This is the only path that preserves the underlying picture exactly, because there is no reconstruction step.
When the source has gone, do not assume every case needs a hidden-pixel repair. A crop can be the cleanest editorial choice when the mark is truly on a disposable edge. A matte, label, or tracked cover can work for an internal review cut when the added element makes sense in the design. Both alter the original composition, so call that out rather than treating it as invisible removal.
The delivery goal matters here. A short internal presentation may tolerate a visible crop that a paid campaign cannot. A social clip may have enough safe margin to reframe, while a tutorial might lose a control the viewer needs to see. Write down the constraint before testing: preserve the whole composition, preserve the subject, or deliver a quick review version. That makes a defensible choice easier than chasing a generic “no blur” result.
Pick the workflow by what you can preserve, not by a promise of perfect recovery.
Situation
Most honest first choice
What to review
Original project is available
Remove or hide the source layer
Check every version exports without the mark.
Mark is on an unimportant edge
Crop and reframe
Confirm the new framing keeps the intended subject.
A design element would be acceptable
Use a deliberate cover or matte
Check its track, timing, and visual purpose.
Composition must stay intact
Test a tight visual cleanup
Watch normal-speed playback through motion and cuts.
Make a short test that can actually fail
Duplicate the authorized video and choose a segment that includes the hardest part of the real job: the moment the mark begins or ends, a camera move, a textured background, and any subject that crosses the selected area. A corner over a flat wall is not representative proof for a mark that later crosses a face or moving water.
Keep the selection focused on the mark, then compare the result at normal speed and again frame by frame. Look for a soft halo, repeated texture, sudden colour shifts, flicker, or an edge that changes shape. Also check the output at the size where people will actually see it; a repair that is tolerable in a thumbnail can be distracting in a full-screen player.
Give the test a practical pass-or-return rule before you look at it. For example: the repair must not draw attention during the intended delivery, must not alter a key subject, and must remain stable during the camera movement. If it fails one of those conditions, return to the source, choose a visible editorial alternative, or change the cut instead of trying to force a barely acceptable repair into a finished video.
This independent demonstration shows why continuous review matters, but it is not a benchmark of this product or a guarantee for your footage.
External workflow demonstration for context; compare methods on your own authorized sample rather than treating it as a product test. Source: aiTrends on YouTube
Keep the boundary clear: permission and provenance still matter
Only edit footage you own or are authorized to edit. Do not use a cleanup workflow to conceal ownership, provenance, safety, or legally required marks. If a mark is there to identify a creator, distributor, licence, or safety status, obtain the right file or permission instead of trying to remove it.
For visible words that are not watermarks, first decide whether they are a separate caption track or baked into the picture. That distinction changes the right editing path and is explained in the related subtitle guide.
Need to clean an authorized watermark without changing the frame?
A tight selection avoids changing unrelated picture areas, but it still needs useful visual context around the mark. Treat it as a starting point and review the result rather than relying on selection size alone.
Why does the repair look fine in a screenshot but not while playing?
Video adds motion and changing context. Watch for flicker, repeated texture, shifting edges, and colour changes through the full appearance of the mark.
Can I remove a moving watermark?
A moving mark is more complex because both the target and the background can change. Test a representative segment and keep the original project or source file available in case a re-edit is the better choice.